With technology constantly expanding it creates a growing demand for PC support across the globe. The more people that own computers and rely on them for a day-to-day basis means the more people that are going to have issues needing to be addressed. Now, with Service Center Remote (referred to as SCR), supporting PC users will be that much easier.
Service Center Remote (SCR) provides you with the capability of running hardware diagnostics, you guessed it, entirely remotely. With a Remote Sessions Plan, all you need is an Internet connection on both ends, and once you are connected with your client tests can be ran with the click of the mouse. So, how exactly do you get started?
While referring to these instructions please note that they are put into perspective from the technician's point-of-view. Any instructions that are specific for the user of the PC that is being diagnosed will be referred to as the 'end user'.
- If you have not already done so, setup your Remote plan at www.pcdremote.com. For further instructions, refer to How to setup your remote plan
- Now that you have your account setup, begin by initiating the Session within the SCR console. Click on Sessions, found at the top of the web page.

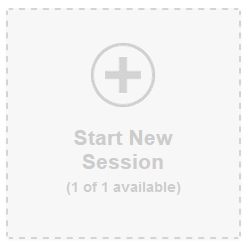
- Here you will see all of the available Sessions you can start (depending on your Remote plan), as well as any Sessions that are currently in use. Choose to Start New Session.
- Now that you are ready to setup your session you will find it straight forward, but there are a few customizable options available for labeling your Session. Once you have entered in the information, click Create Session.
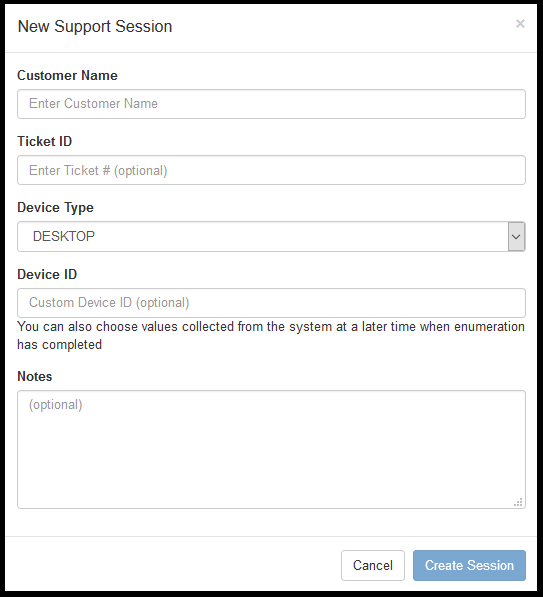
- Customer Name (required): The Customer's name will benefit you by allowing all past/future sessions to be organized using their name.
- Ticket ID (optional): General recommendation is to use an internal naming scheme for tracking purposes (IE Ticket 1, Ticket 2, Ticket 3, etc.).
- Device Type: Select whether the end user's system is a laptop, desktop, or tablet.
- Device ID (optional): Best thought of as the device serial number, or any indicator that will help you label the device. This can also be designated as the System Name detected after the initial connection is established.
- Notes (optional): Entirely free form for your use in documenting issues, solutions, reminders, etc.
- The session will now proceed to configure itself, which results in it providing you with a URL. This URL will need to be shared with the end user. You can share the URL with them via E-mail, messenger, etc.
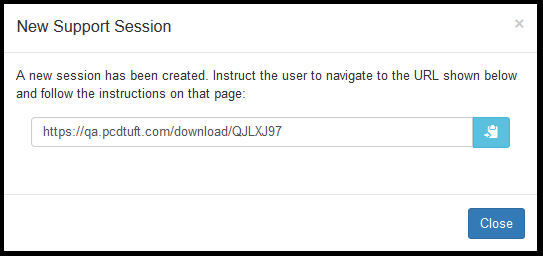
- Once the URL is shared and the end user has entered it into their browser, they will find themselves on the landing page where they will click on Download Here to obtain the necessary program that completes the remote connection. The web page contains a three-step instruction guide and should be very straight forward for the end user. In the case they find themselves stuck, it be best that you follow the URL as well to the same landing page and walk them through the process.
- Now that the end user has the program downloaded and is properly authenticated with the code provided from the landing page, the SCR technician portal will recognize this, and your session will be displayed as seen in the following figure.
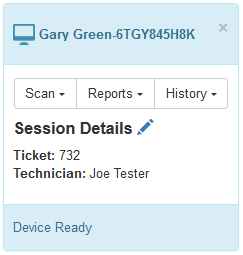
- Testing can now begin. Using each drop down menu for the Scan, Reports and History tabs, you'll be able to fully manage your session. All available tests will be found under Scan. Once testing is complete, reports will be found under the Reports tab, as well as the computers System Information. In the case that this specific customer or the unit under test has had tests ran in the past, then you will be able to look up that history with the History tab, which uses the Customer's name or the Device ID to search for past sessions.