Now included in Service Center is the ability to store your system information and diagnostic results in the Cloud, making them easily accessible from any device with Internet connection using Chrome, Firefox, or Internet Explorer. This is something that can become useful not only for easy access, but also a way for yourself and any team members to keep the reports in a central repository.
You can begin saving your reports online with these 3 simple steps.
- In order for your reports to be saved online you must do so with a Service Center Remote account. If you have not already, visit www.pcdremote.com to create your free account. There are a few ways to sign into your account within the Service Center console.
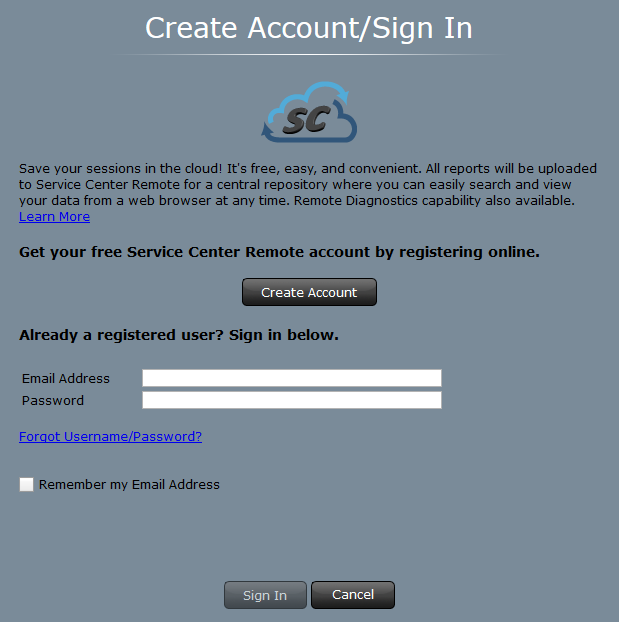
- When you first load the Service Center GUI, you will be prompted with a Create Account/Sign In screen.
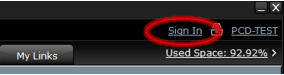
- Within the GUI, you'll find a Sign In link towards the upper right-hand corner. Once signed in, you may also sign out from the same area.
- If not already signed in upon exit of the Service Center GUI, you will once again receive the Create Account/Sign In screen. If you would prefer to no longer see this screen, check the box Do Not Show Again.

- When you first load the Service Center GUI, you will be prompted with a Create Account/Sign In screen.
- In order for your Reports to be uploaded to your online account, you will need to create a Session. A Session can be created immediately after you launch the Service Center GUI, or also by going to File→Session→Start. Creating a Session is straight forward, but there are a few customizable options available for labeling your Session.
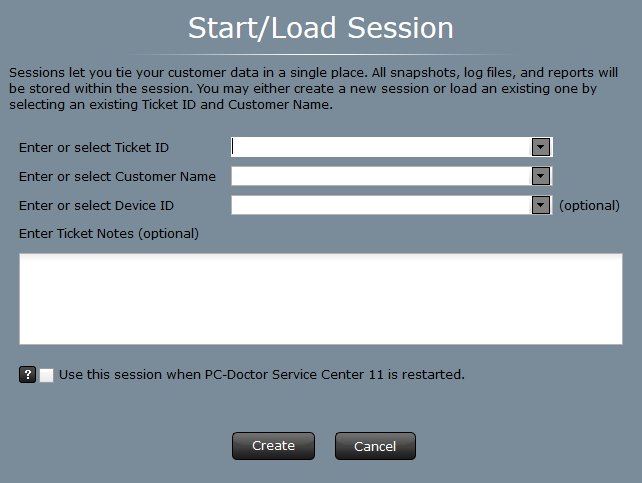
- Ticket ID (required): General recommendation is to use an internal naming scheme for tracking purposes (IE Ticket 1, Ticket 2, Ticket 3, etc.).
- Customer Name (required): The Customer's name will benefit you by allowing all past/future sessions to be organized using their name.
- Device ID (optional): Best thought of as the device serial number, or any indicator that will help you label the device. Default options include the PC Name or if diagnosing a Dell PC you can use the Service Tag ID.
- Notes (optional): Entirely free form for your use in documenting issues, solutions, reminders, etc.
- Use this session when Service Center is restarted: In the case you would like to pick back up where you left after exiting Service Center.
- Now that you are signed in to your online account and have the Session created, your reports can now be uploaded to the cloud. Reports include items such as System Information and test results. Only once diagnostics tests have completed will the test reports be available for upload. So long as you are signed in to your account, any report created during the existing Session will auto-upload to the Cloud upon exiting the Service Center GUI. Otherwise, if you would like to manually upload or manage the reports you can do so using the following steps.
- To manage your reports, navigate to Tools→Settings, and then click on the Session Management tab.
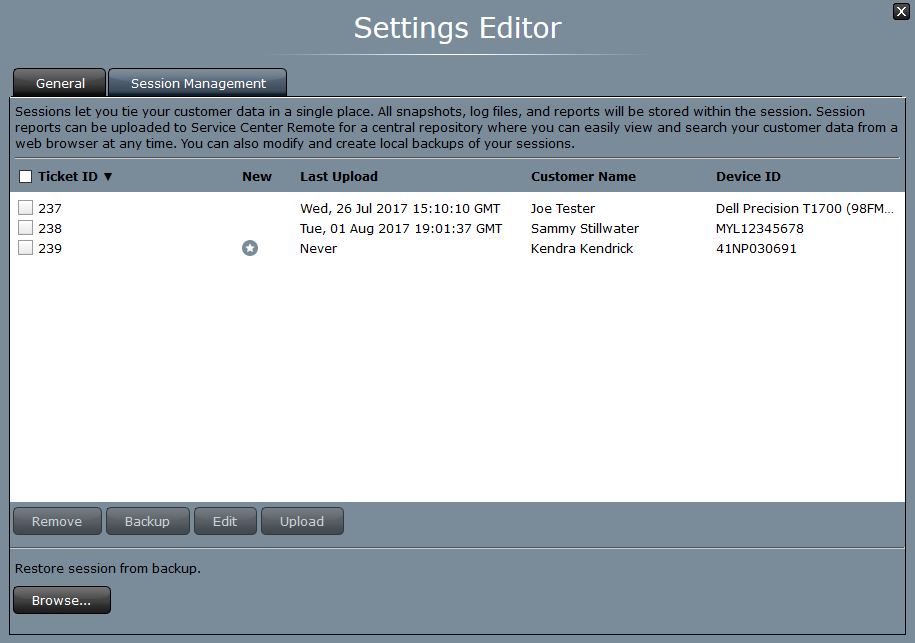
- From here, you will see a list of all the reports you have created using the current MUD you have plugged in (Please note that if you perform a restore on the MUD, it will remove all of the reports stored on it).
- In order to manage the reports, check the box next to the desired report(s).
- Each report can have the following actions performed: Remove, Backup, Edit, Upload. It is recommended to backup your reports to a external physical location as well, such as a flash drive, for the utmost prevention of data loss.
- To complete uploading to the Cloud, chose Upload, which will launch a progress bar, and once complete your report will now be accessible in the Service Center Remote console from any device with web browsing capabilities, as mentioned above.
- To manage your reports, navigate to Tools→Settings, and then click on the Session Management tab.